A reverse osmosis home water filtration system delivers fresh, clean drinking water straight from your tap without any fuss. However, paying a professional plumber to install your system can be costly, creating an additional burden as you invest in top-notch water quality for your home.
The good news: you can install your new reverse osmosis home water system yourself. We have designed our RO systems with color-coded connections and pre-assembled parts for perhaps the easiest home installation on the market.
Our user manuals cover how to install your reverse osmosis system in detail, but here are a few tips to keep in mind as you prepare your reverse osmosis installation.
Measure Your Space and Have Your Tools Ready
You will be installing your RO system underneath your sink. One of the crucial components of a successful self-install is having enough room under your sink to install your tank and the filter assembly. Use a measuring tape and measure out space where you plan to install your RO system. Ideally, there will be enough space for the system itself and enough room to reach connections and piping without straining.
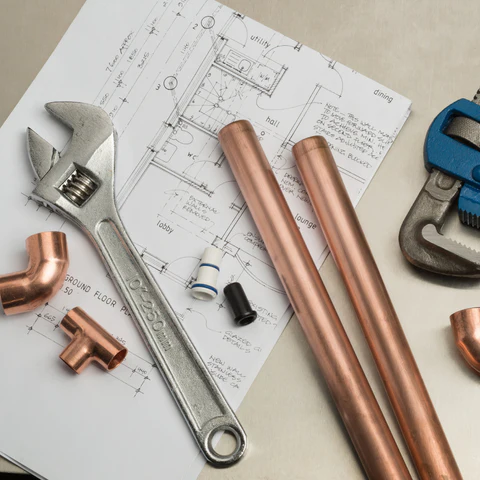
Gather the tools you will need for your installation before you plan to install the system. Luckily our system is hassle-free and does not require specialized tools. You can find the following tools at your local hardware store:
- Box cutter
- Phillips head screwdriver
- Power drill
- 1/4” drill bit (for drain saddle valve)
- 1/2” drill bit (for RO faucet)
- Adjustable wrench
Install Your System Methodically
The design and simplicity of our reverse osmosis system allow you to go from unboxing to a fully installed product in 2 hours or less. So, take your time and do not rush through the process.
When unboxing your RO system double-check that you have all of the components listed in the user manual before you begin the installation. Take care to not damage the tubing while removing it from the packaging. Lay out all of the components on a spacious counter or table for easy access.
As you go through each step follow all instructions and read each page thoroughly. Again, there are not many steps, and a proper install will save you a lot of headache and frustration. If you get tired take a break. Don’t risk damage to the system, your plumbing, or your counter because you want to rush through the process.
Don’t Be Afraid to Ask Questions
We include comprehensive, easy to follow installation instructions in the reverse osmosis system user manual. Read the instructions and conditions before you begin the installation process to make sure your water pressure is appropriate and to avoid common issues.
We understand that confusion can still arise, and it’s better to be safe and consult a professional if you have questions during the installation process. In that case, you can contact a member of our customer service team or call us directly at 1-800-992-8876. We are available to talk Monday through Friday from 10 am to 5 p.m. PST.
Allow Time for System Startup After Reverse Osmosis Installation
After your RO filter system is completely installed we recommend running 4 full tanks of water through your system to get it flushed and ready for use. Depending on your home’s water pressure this can take anywhere from 8 to 12 hours. For full instructions read the system startup section (page 24) of the user manual.
Our advice? Install your reverse osmosis system in the morning so you can complete the system startup throughout the day. Set aside a free day to dedicate to your RO filter system installation and start up so you can have water ready to drink in the evening.
Once you have finished the system startup you have successfully installed reverse osmosis by yourself! Prepare to enjoy simply pure water directly from your tap. All you need to do is replace the filters as needed (about every 6 months) and marvel at how straightforward the installation process was.
Post time: Nov-18-2022

